Fallout Shelter Survival Mode: Rules and Safer Starting Tips
Fallout Shelter Survival Mode rewards a smaller margin for error. Build a stable vault before chasing population, keep a capable group at home, and make a recoverable copy before experimenting with saves. The mode is more manageable when you treat power, food, water, room placement, and incident response as one plan instead of separate emergencies.

In This Guide
What Changes in Fallout Shelter Survival Mode?
Survival Mode is a higher-risk way to run a vault. The useful difference for planning is not a promise that every incident will be harder in the same way; it is that you should expect mistakes and dweller losses to be costly. Do not build a strategy that depends on replacing a specialist immediately, recovering every casualty, or undoing a risky choice after the fact. Confirm the current in-game rules before starting or changing a vault, because a save slot and mode choice can affect which version of your progress you are managing.
Normal mode is a more forgiving place to learn or test layouts. Survival mode suits players who accept a tighter margin for error. In either mode, production, room assignments, and a reserve defense team matter.
| Planning question | Normal vault approach | Survival vault approach |
|---|---|---|
| Expansion | Grow when staff and production support it. | Add rooms and dwellers in small steps. |
| Home defense | Keep enough staff for ordinary incidents. | Reserve healthy, armed dwellers before a trip. |
| Incident timing | Population references are not a clock. | Prepare before a risk boundary, not at an exact trigger. |
Start With a Vault You Can Support
Build only the rooms you can staff, keep resource meters stable, and recruit at a pace your production can cover. A small, supplied vault has more options than a crowded one without equipment or healing stock.
- Check mode and save slot. Read the in-game prompt before creating or switching a vault.
- Prioritize production. Staff core power, food, and water rooms before opening optional floors.
- Keep roles covered. Do not move every experienced dweller into training or exploration.
- Pause after each change. Recheck resources and home defense before expanding again.
Keep Power, Food, and Water Stable
Power supports rooms; food and water keep dwellers going. Check the buffer after adding a room or sending workers away, not only after a successful collection.
When a meter falls, add production or staff before expanding. Training and crafting should not leave core rooms short-handed.
| Signal | Check | Low-risk response |
|---|---|---|
| Power is low | Are open rooms exceeding current production? | Staff power production and delay optional rooms. |
| Food or water is falling | Are workers away, or is capacity too low? | Restore output before recruiting or sending another team. |
| Healing stock is thin | Could defenders run short during an incident? | Restock before a quest or population increase. |
Prepare Before Population Raises the Stakes
Population affects which incidents can become relevant, but it does not give you an exact attack schedule. Community references commonly cite roughly 35 dwellers in Survival mode and roughly 60 in normal mode as points where Deathclaw attacks may enter the incident pool. Treat those values as community preparation guidance, not official timers or a promise that an attack will happen immediately. The Deathclaw timing and defense guide covers the limits of those figures and the room-by-room response.
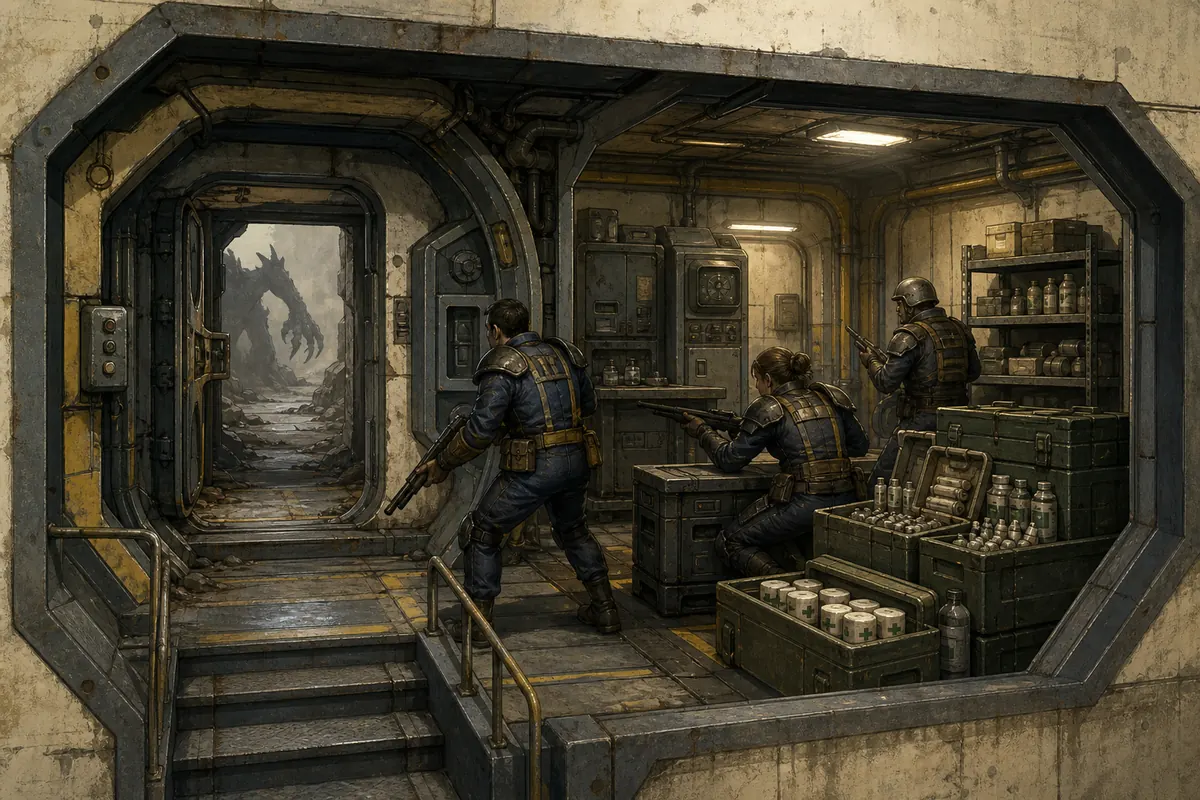
Before growing toward a risk boundary, staff a useful room after the vault door. Keep capable dwellers, dependable weapons, and healing supplies at home; do not send every strong defender on the same trip. A reserve group helps stop an incident from spreading through empty rooms.
Place Rooms for a Fast Response
No single blueprint fits every vault. Put a fully staffed room near the entrance and keep training or low-occupancy rooms away from first contact when possible. See the first-floor layout guide for room order and the weapons and outfits guide for equipment roles.
Send Teams Out Without Emptying the Vault
Quests and wasteland trips remove dwellers from production and defense. Before sending a team, leave healthy room staff, a reserve with workable weapons, and enough supplies at home. Match gear and healing to the trip, check explorers' condition, and let the vault stabilize before launching another team.
Protect a Clean Copy Before Save Experiments
Keep an untouched copy of the active vault in a separate dated folder; never test a restore over the only working file. File locations and cloud behavior differ, so check the platform save-file guide and cloud backup guide before moving files.
For an edit, use a working copy, change one small category, and confirm the game opens and saves it. Compatibility can vary by build, so keep the original and avoid extreme values.
A Practical Opening Plan
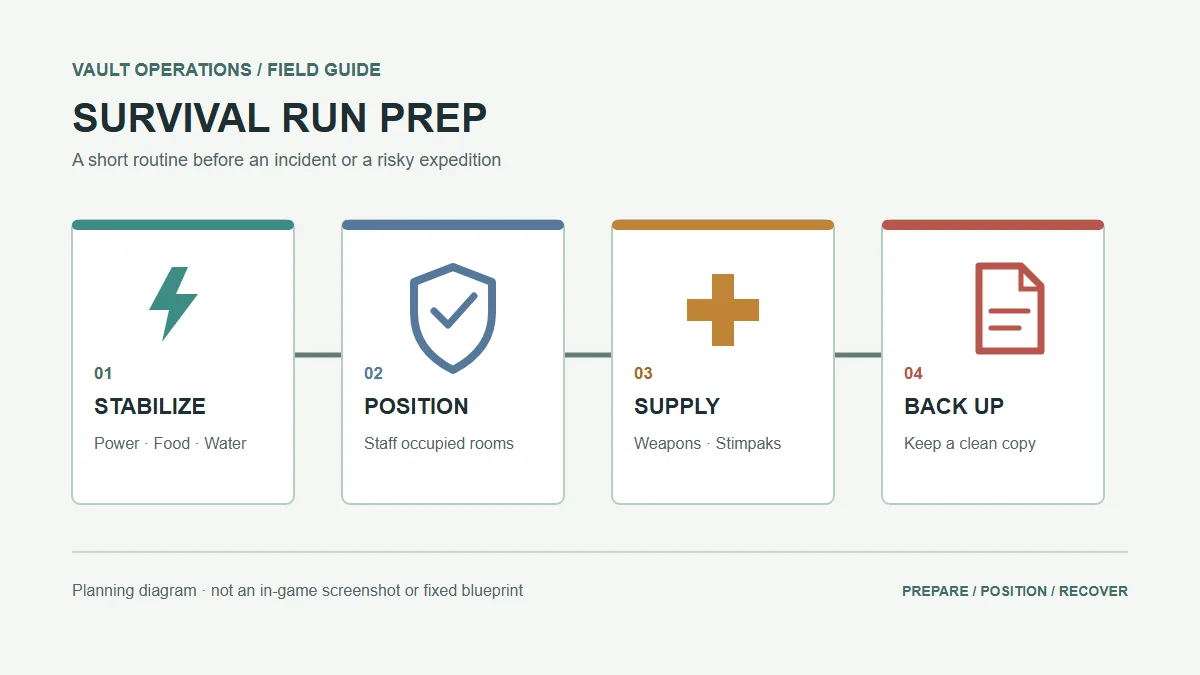
Use these checks as a sequence, not a rigid build order; pause whenever the vault becomes unstable.
- Stabilize: staff core production before optional rooms.
- Position: staff the entrance room and choose who stays home.
- Supply: restore healing and spread dependable weapons across the team.
- Expand: add one room or a few dwellers, then recheck.
- Preserve: copy the save before rebuilds, cloud changes, or edits.
If a check fails, pause growth and fix it. A staffed, supplied vault has more options than a larger one that cannot cover an incident and a quest team.
Fallout Shelter Survival Mode FAQ
What is different about Fallout Shelter Survival Mode?
It is a higher-risk vault choice where losses and poor preparation carry more weight. Build slowly, protect a home defense group, keep production stable, and confirm the in-game rules for your version before changing a vault.
When can Deathclaws attack a Survival Mode vault?
Community references commonly use roughly 35 dwellers in Survival mode as a preparation boundary, compared with roughly 60 in normal mode. These figures are not official timers or guaranteed attack schedules.
What should I build first in a Survival vault?
Keep power, food, and water production dependable before expanding. Staff occupied rooms, build a useful room near the entrance, and avoid recruiting faster than your resources and defense team can support.
Should I send dwellers on quests in Survival Mode?
Send a limited, prepared team only after enough healthy and armed dwellers remain at home. Bring suitable healing supplies and avoid sending every strong defender away at once.
Can I safely edit a Survival Mode save?
Any save edit can produce a file the game does not accept. Preserve an untouched copy, make one small change at a time on a working copy, and test that copy before replacing an active vault.
Sources and Related Guides
This page focuses on conservative vault planning, not a patch-specific promise about every incident. The population figures above are attributed to community references and should be treated as estimates.
- Official Fallout Shelter Steam page — game context and the source for the existing in-game room screenshot.
- Official Bethesda Fallout Shelter page — official game and platform context.
- Community Q&A on Deathclaw attack thresholds — a community reference, not an official schedule.